📹 Film Study: Safety Reads
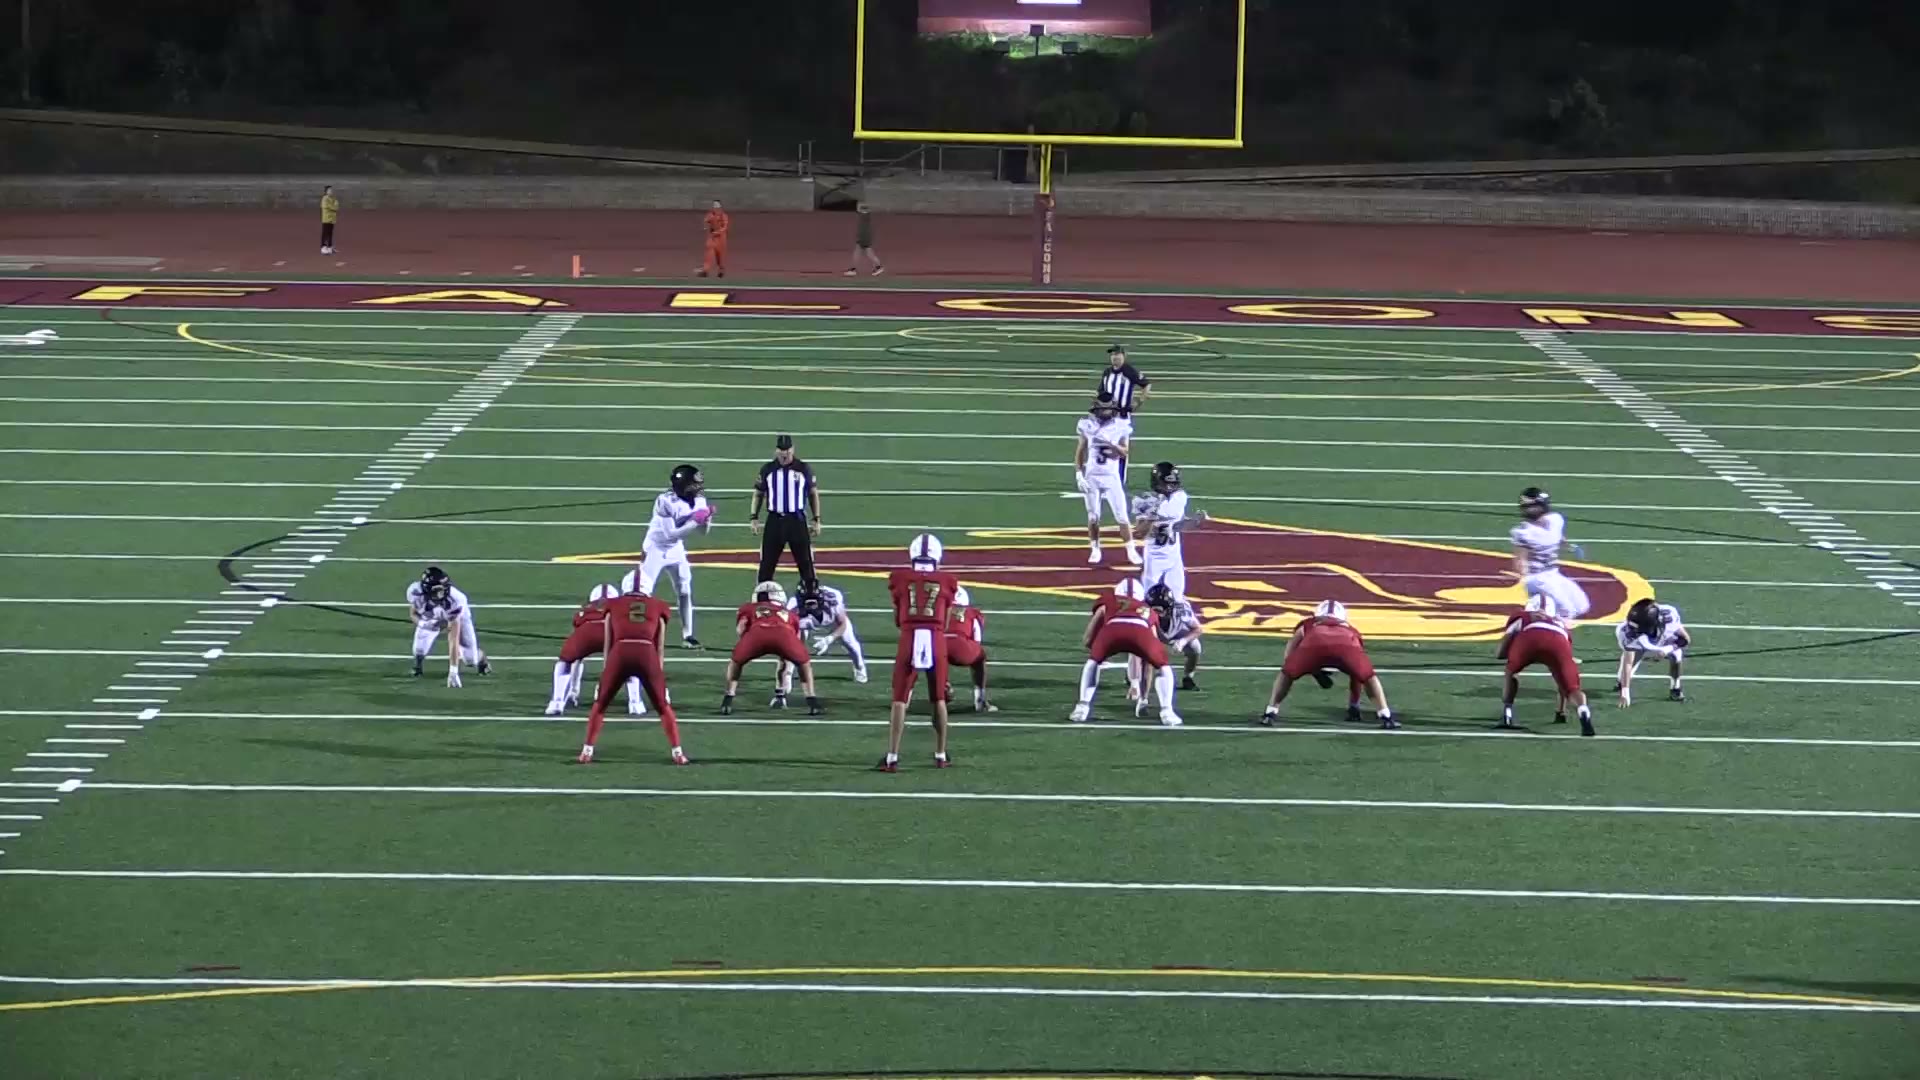
NINER: Safety Bust — Single-High vs Seam
TURBO STACK — FS was at 9 yards pre-snap (single-high shell). The seam receiver ran past the FS in 2 seconds. STACK formation requires 12+ yards minimum depth. When you see STACK, call "DEEP" and back-pedal immediately. You cannot close on a seam route from 9 yards — 31-yard TD.
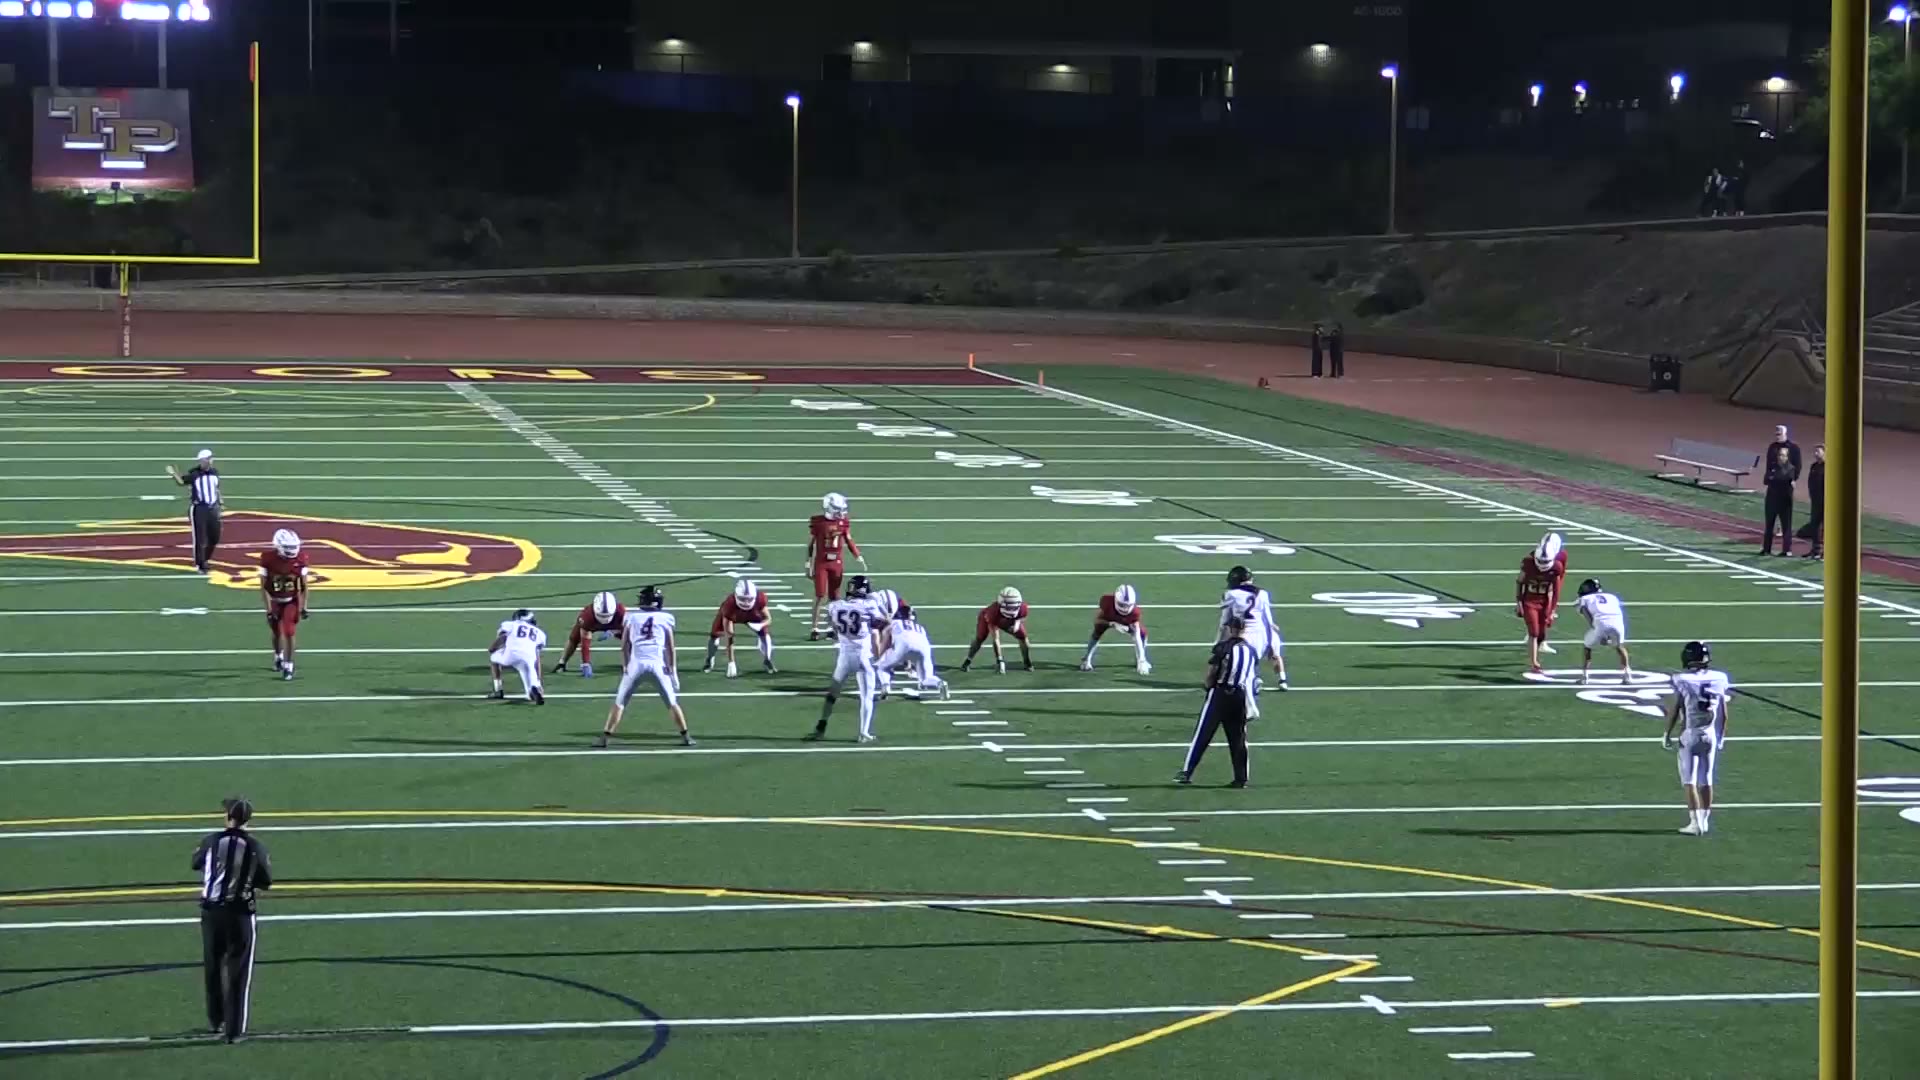
F JAILBREAK: FS Rotation Failure — 46 Yards
TURBO formation — the F receiver (flex) aligned wide. FS rotated to the inside receiver and left the deep boundary side open. F JAILBREAK hit the vertical route for 46 yards. TURBO = count the receivers to each side and shade toward the 3-receiver side. Keep your eyes on the F's release — if he goes vertical, you have him.
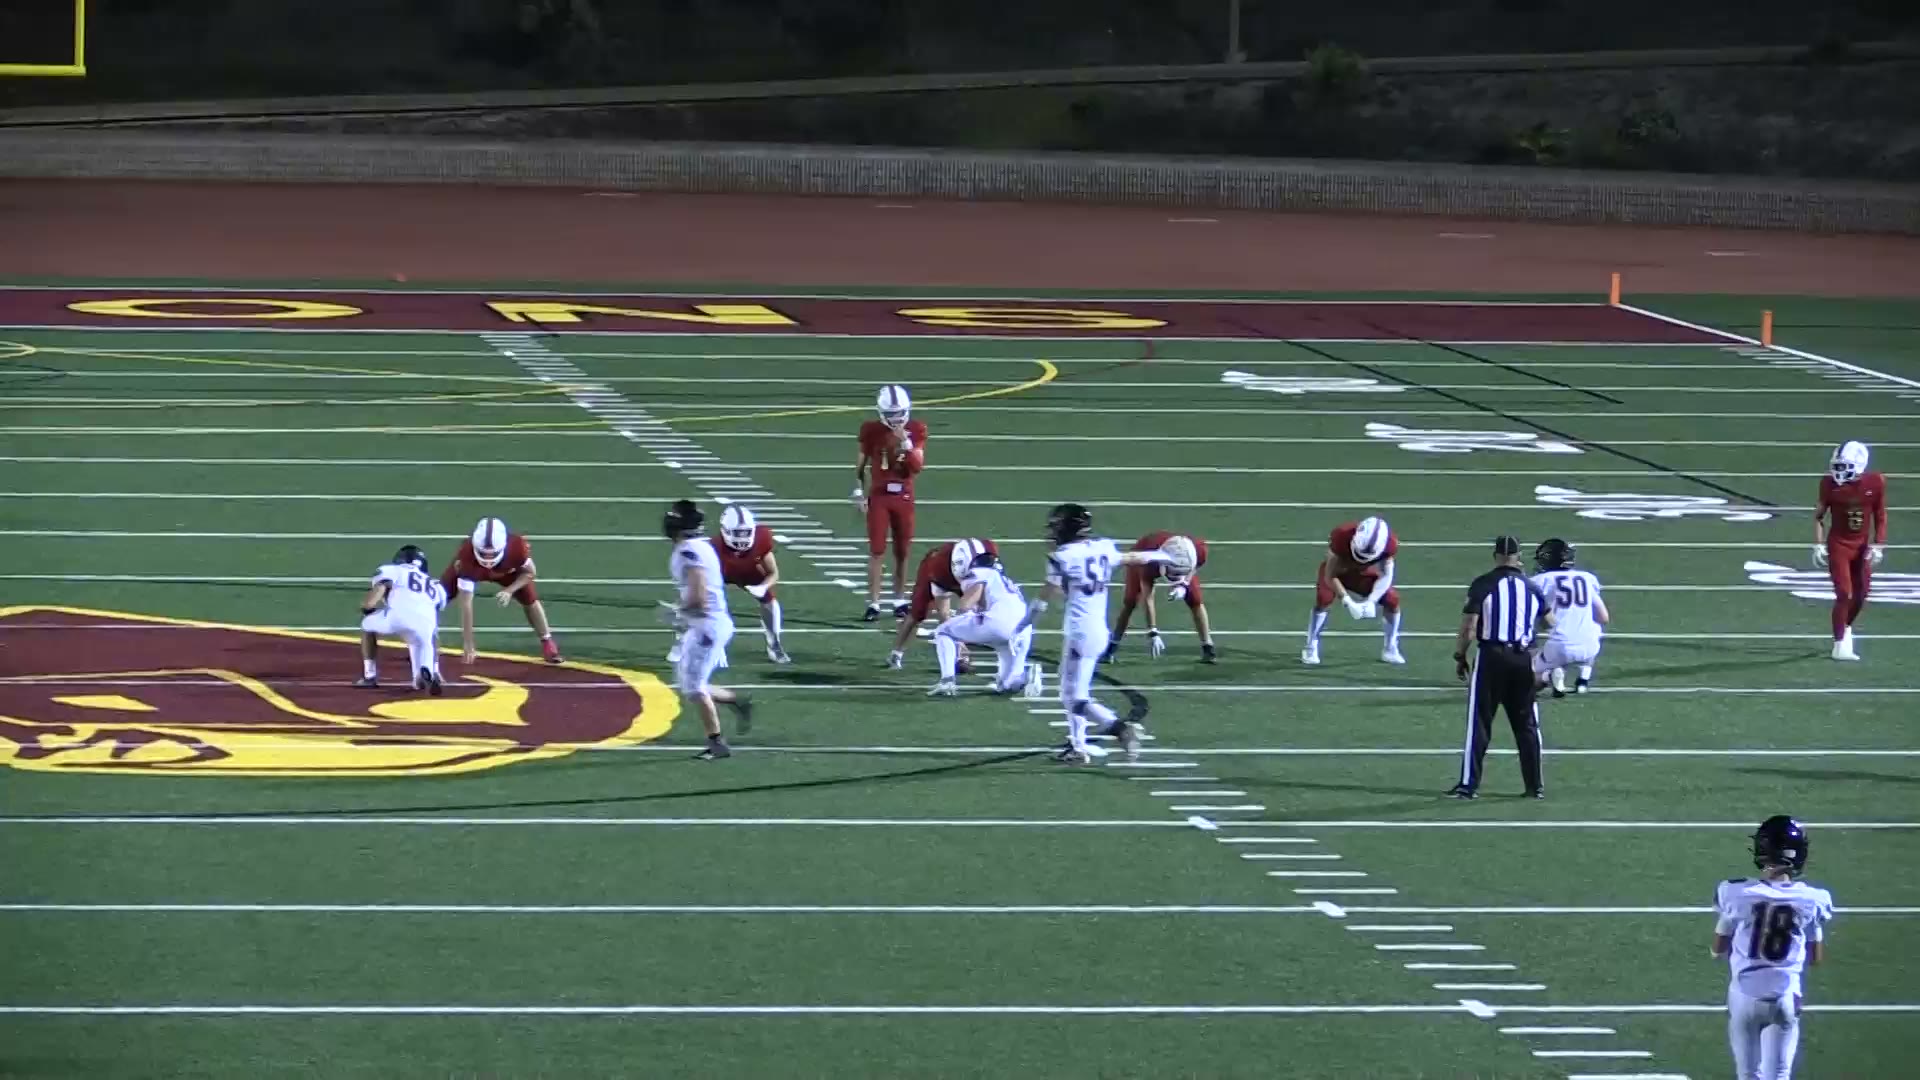
B PARROT TD: FS Run Support Missed
67-yard TD. FS was too far outside and didn't close at an angle on the B PARROT run. On Split formation, the FS must take a 45-degree angle toward the ball carrier's path. Don't over-run the tackle — be the last wall. Set your feet and make the RB cut back into your pursuit. Don't give up the sideline.
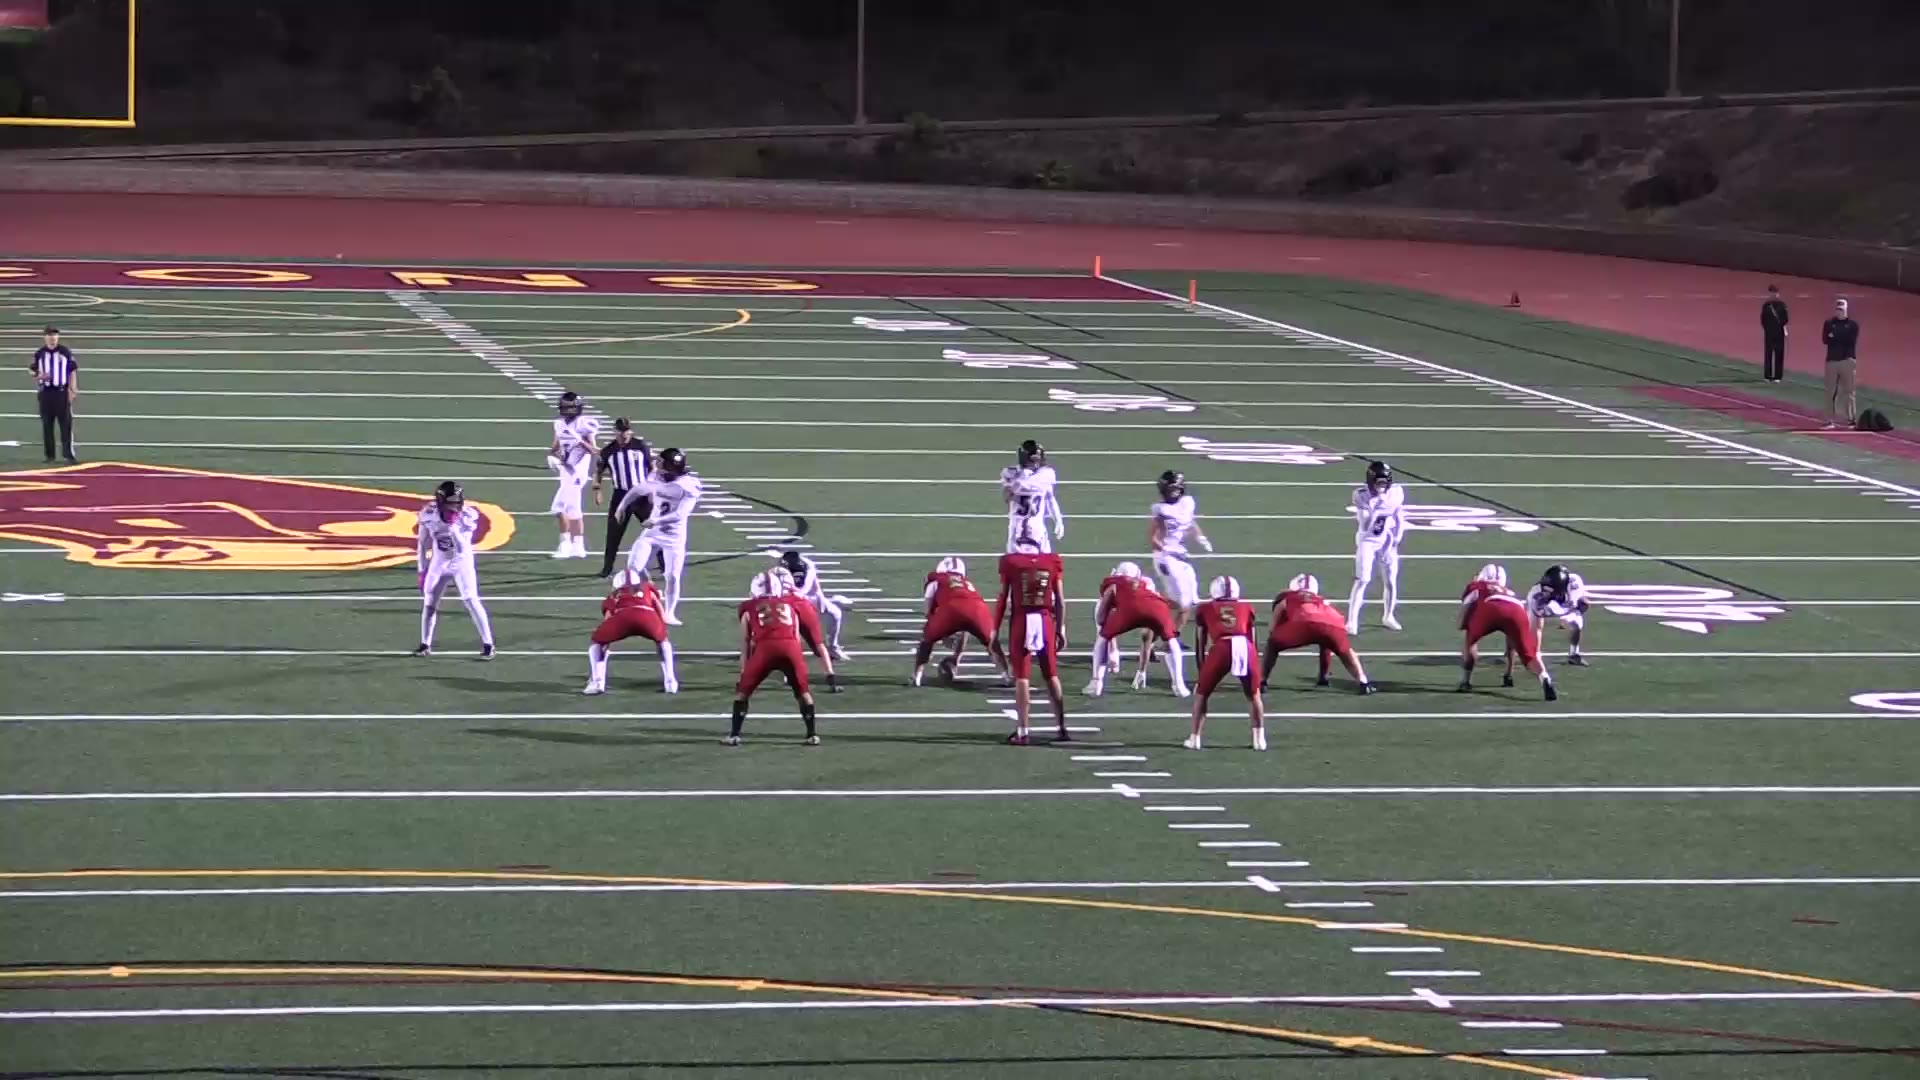
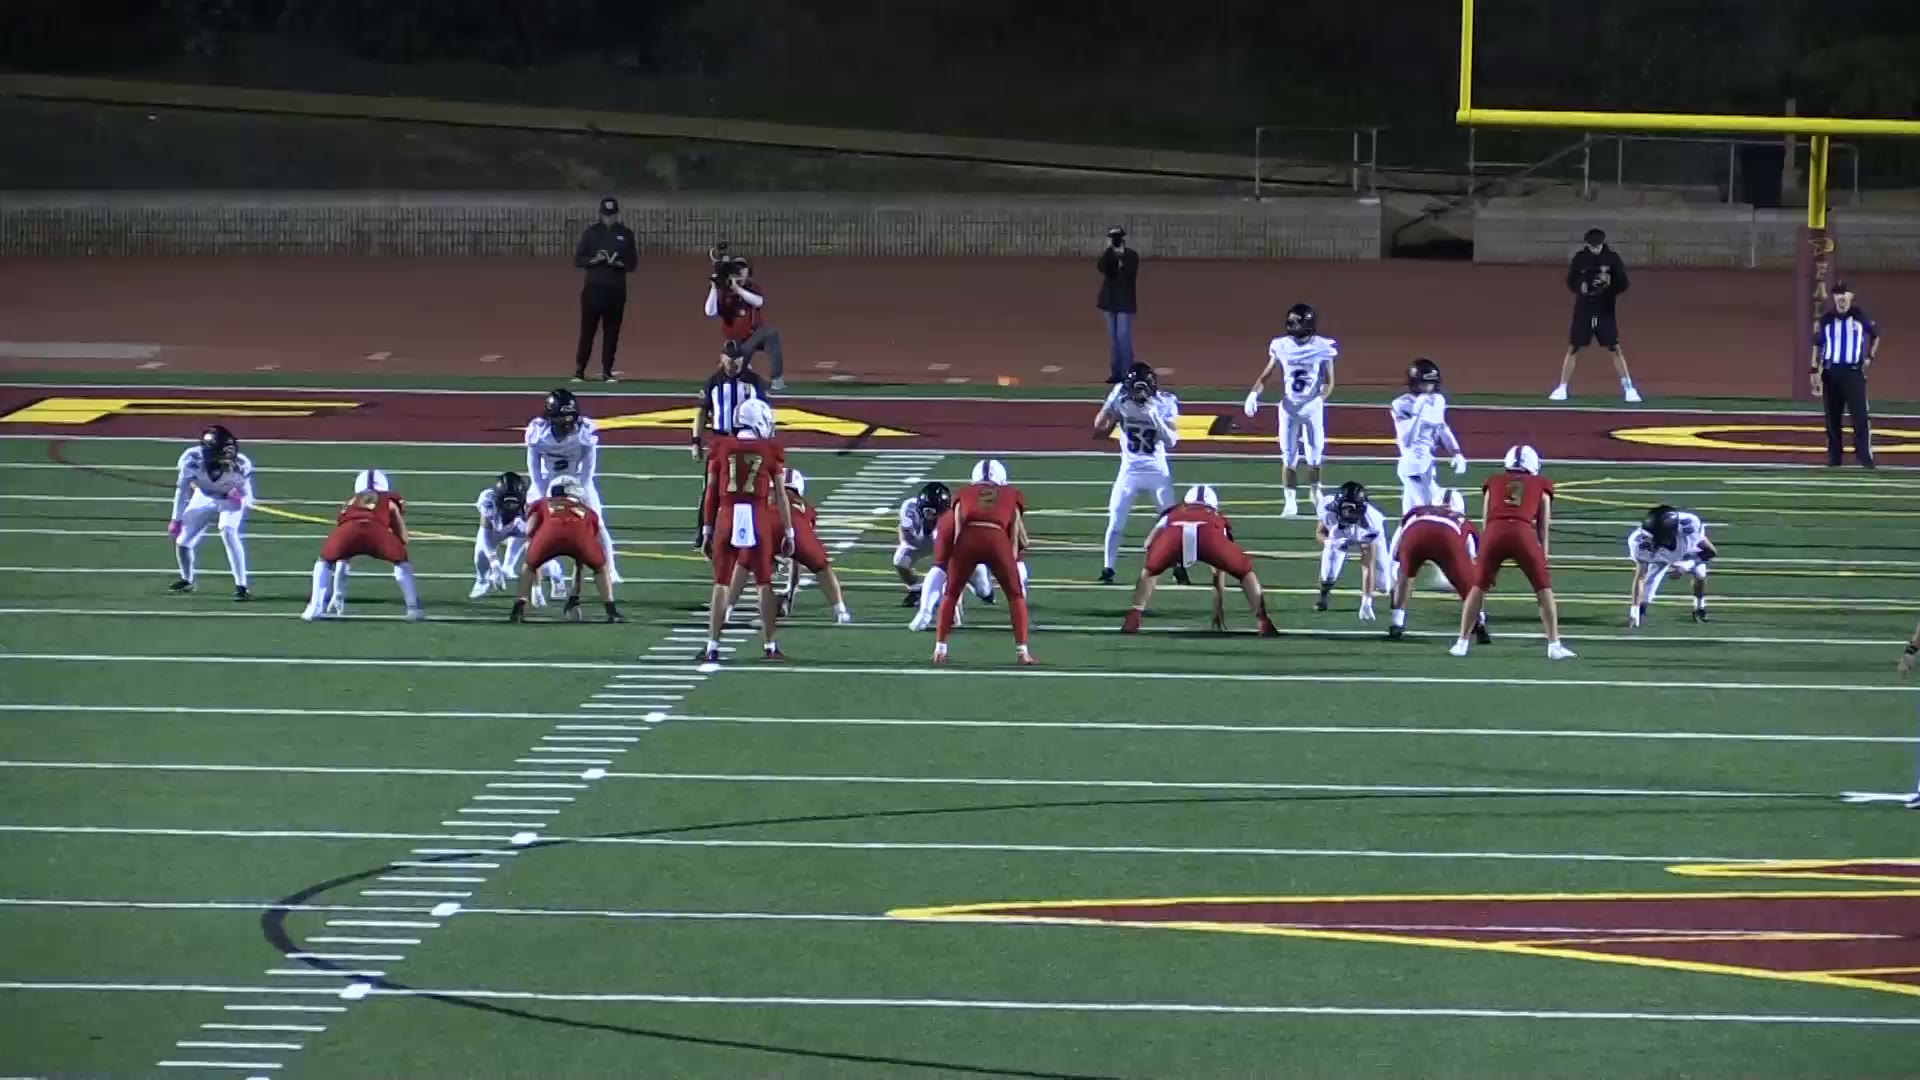
YAMAHA Motion: FS Run Support Read
YAMAHA motion = run 100% of the time. When you see YAMAHA, take a half-step toward the run side at the snap. Don't over-commit — take one step, read the guard's first step, then attack the correct gap. This is a teachable rep: motion read leads directly to run support leverage.
X JAILBREAK: FS Bracket the Deep Third
FIRE formation (spread 4-wide) — X receiver runs a go route (JAILBREAK). FS must stay in the deep third over the X side. Don't get sucked inside by the slot route. Stay over the top, force the completion underneath if it comes. The X JAILBREAK goes for 18 yards — FS should have been 12+ yards to bracket this.